Tag Archives: diy

Woodsmith #194 Media Center Part II

Progress on my woodworking project to build a media center has slowed, but is still moving along.

(Also see Part I, or Visit Woodsmith to find Entertainment/Media Center plans in Issue 194).

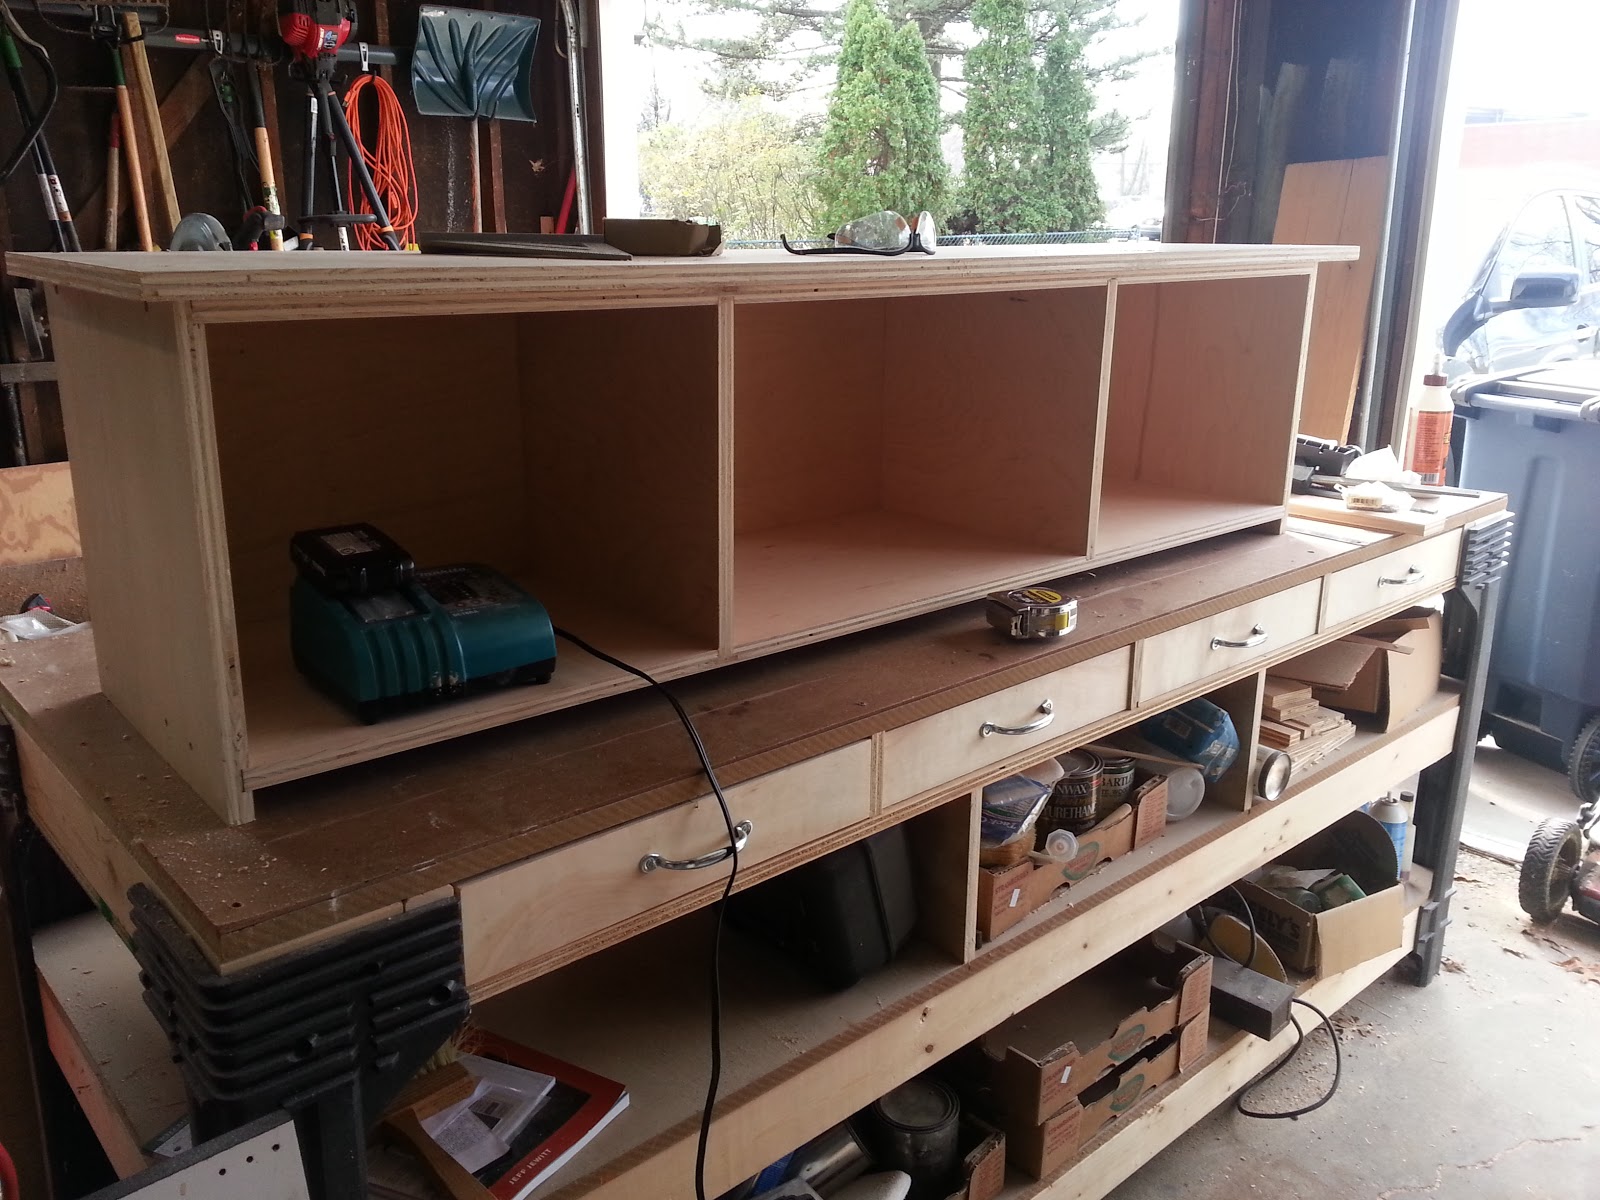
Both the left and right tower cabinets are assembled and have face frames installed.  I expanded both the height and width of the media center towers so that a larger TV could be accommodated  as well as more space for storage.  The towers are nearly 7′ tall and 24″ wide.

20121117_145350

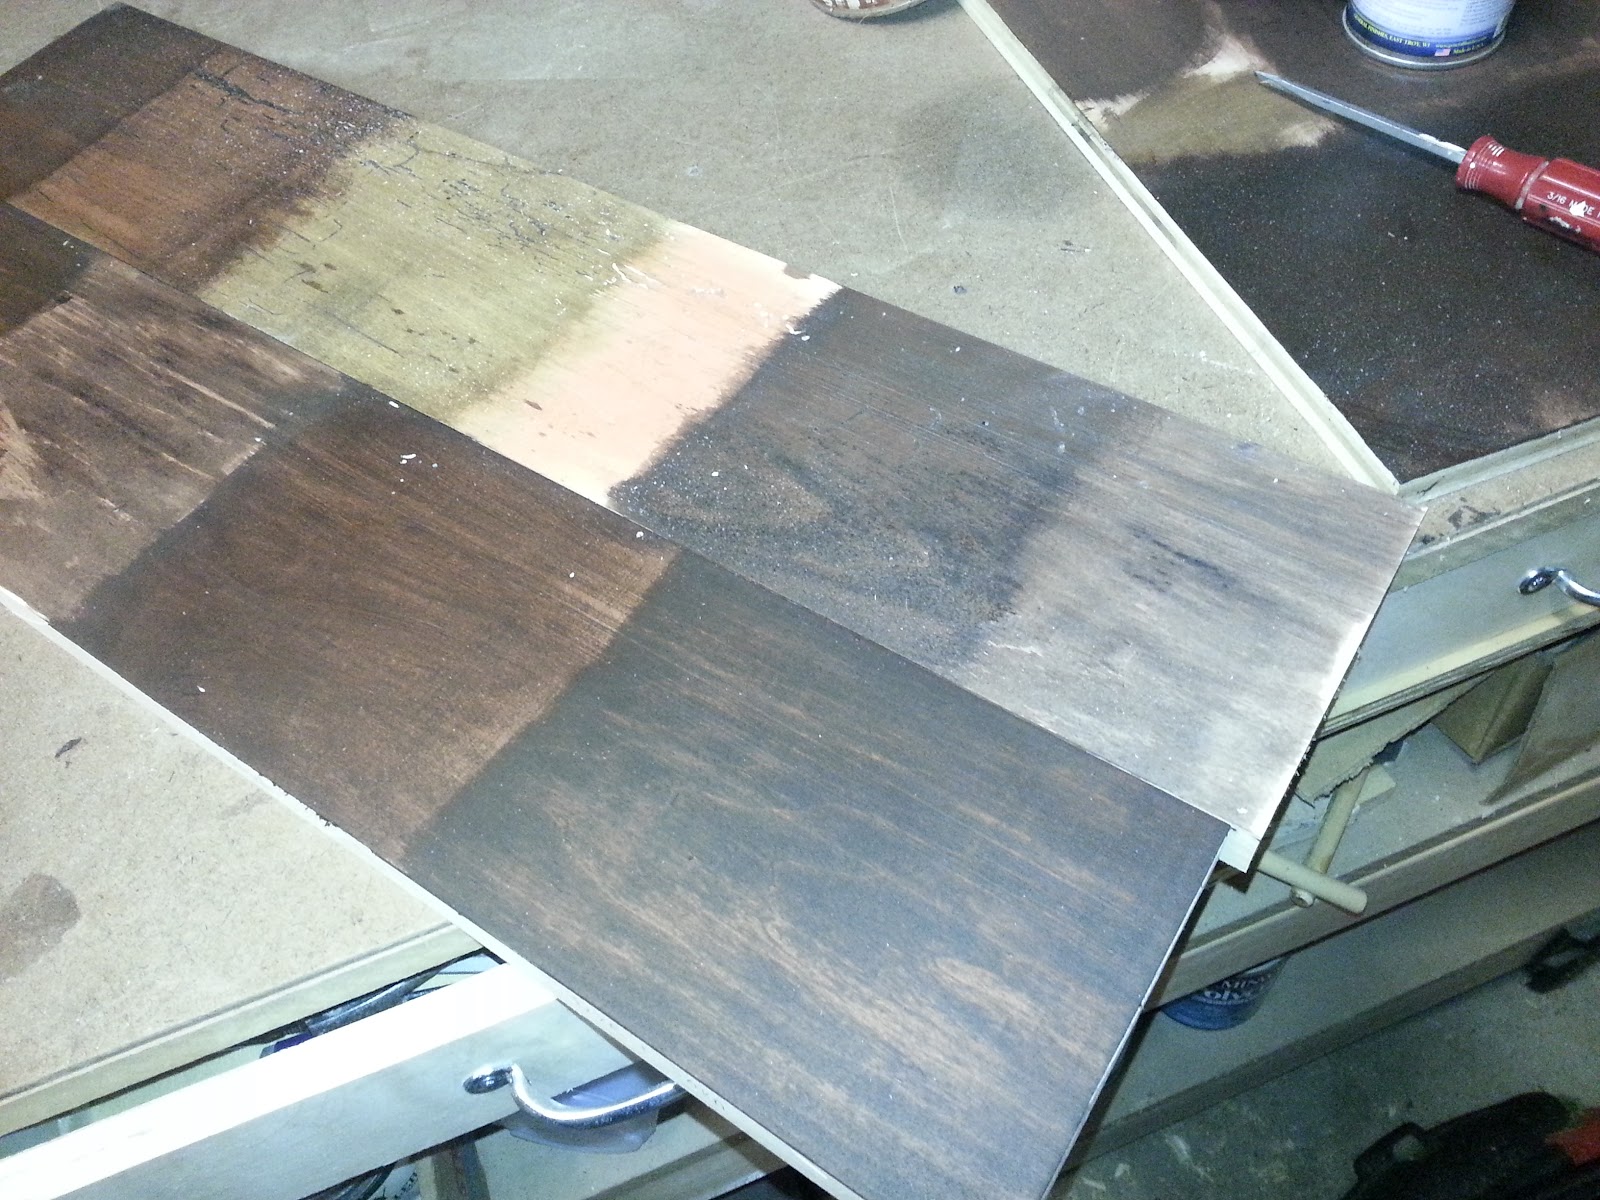
Lots and lots of sanding.  The maple plywood just requires a light sanding at 220.  The solid maple face frames take a little more time.  I’ve been starting at 120 and working my way up to 220.

Woodsmith #194 Media Center Sawdust

Face frame sawdust.

Here’s the two tower cabinets side-by-side.  Space in the garage is now at a premium.

Woodsmith #194 Media Center

The two tower cabinets side-by-side.

Each of the tower cabinets have two drawers on the bottom.  You can see the drawer slides in the picture above.  Each drawer is approximately 18.5″ wide and 12.5″ deep.  We’ll probably use these drawers for storing BluRay’s and XBox accessories.

The first drawer is almost done, 3 more to go build.

Woodsmith #194 Media Center Dovetail drawers

Media Center Dovetail drawers

I decided to use dovetails since my wife bought me a new Porter-Cable dovetail jig for Christmas.  After spending some time setting up the jig and calibrating my router, I was ready to make some dovetails.  My first two attempts didn’t go so well.  After tweaking the jig a few more times, I finally dialed in the right settings.  It’s a great jig, and I’m anxious to build these drawers and then try it with some other projects.

Woodsmith #194 Media Center Part I

Back in October, I began a new woodworking project to build a media center for the living room.  Currently, my college entertainment center (designed for a 36″ CRT TV) serves as the only storage in the living room, and currently doesn’t do a great job.  It’s time for something better.  After looking around for plans, we finally picked this media center from Woodsmith #194:

Woodsmith #194

The next question…what kind of wood to use.  After seeing similar units in stores such as Pottery Barn and Crate & Barrel, the darker finishes really appealed to us.  Since I have a garage full of walnut, this was my first choice.  I quickly found that walnut plywood was too cost-prohibitive.  Instead, I settled on building this with maple, since I also have a lot of that as well.  I spent some time working on a dark finish:

Testing out various staining and glaze techniques.
Once I found a good dye/glaze combination that achieved the dark finish, it was time to make some sawdust.  I started making the center console.  The plans allowed for a 55″ TV, but knowing me, I wanted to be able to support an even larger TV.  By increasing the width of the center console, this unit should allow us to have a 65″ TV in this media center.
Center cabinet for the TV

Making the center cabinet went by really fast.  It features inset doors, which was a first for me.  It also feels two pull-out drawers for easy access to all of the electronics, and ample space for heat dissipation.   I plan to mount a high-grade power strip and gigabit ethernet switch for all of the components that require ethernet.  In the end, I will also be mounting some LED strip lighting inside the case as well, to make it easy to see inside the cabinet.

The inset doors were easier than I expected.  Mounting the doors with the euro-style hinges was also easier than I thought it would be.  It was also a first for me to use drawer slides for the two component trays.  That part was also easier than expected, and the slides work great.
Once the center unit was complete, I moved on to build the bridge unit that will sit above the center console.  The bridge unit was a fairly easy build.  Simple box construction, face frames, and a top that allows for a crown molding detail.
Bridge Cabinet

Here’s the Center and Bridge console together.

Bridge and Center cabinet together

In the next post, I’ll share some pictures of the two tower cabinets.  I have started to make some progress there as well, and I’m anxious to get both of the tower cabinets complete as well.  I can’t wait to bolt this unit together to see it all as one.

Cedar Potting Bench

Potting Bench after staining.

 In the past few years, I haven’t been able to do much woodworking.  My tool time was limited to several DIY projects that had higher priority.  This spring, I took a day off from work to build this Cedar Potting Bench.

I started with plans from The Family Handyman magazine.  The plans were for a 47″ wide bench, but the area on our patio was more like 65″ inches.  I decided to widen the bench to give more table top and shelf space.

With the added width, I was concerned about the structural integrity.  I was able to modify the plans by adding a middle vertical support for the back of the bench to add some additional strength.  Without this vertical support, I believe there could have been some sagging with the shelves.

Layout out the back of the potting bench.

The plans called for using a plastic wastebasket to hold the dirt.  Another change was to use cement board instead of exterior-grade plywood to hold the dirt container.  By cutting a hole in the plywood, the container hangs from the bench by the lip of the wastebasket.  I could not find exterior plywood, but I found that cement board (used in tile applications) worked just as well.

Attaching the front assembly to the back.

Construction was primarily Gorilla glue with exterior screws.  Some pocket screws were used as well.  I used Behr transparent stain/finish to protect the cedar from the elements.  Shelf brackets from the local big box store were used to support the shelves.

This was a really fun project, and was a great way for me to get back into woodworking.  Next project will be an Entertainment Center for our living room.

Starting to cut and fit the boards for the bench itself.

A litter pan provides a way to catch excess dirt when potting.

Potting bench nearly complete.

Closeup of the bottom shelf.

Closeup of the bench.

Full of plants.

Home networking setup

Home network root

A friend of mine is starting the process of building a house, and we got to talking about all the high-tech goodness that he could add into their home.  Over the years, I have managed to build a decent home network setup in our house, and so I thought I’d share some details.

I started this project by mounting a 2′ x 2′ piece of plywood on an interior wall, right where the cable connection enters the house.  A mounted power strip makes it easy to add components and power cycle when needed.  A nice upgrade here would be to mount a UPS on this board instead of a power strip.

The best internet source for our house is through cable.  As much as I despise the cable company, at least in our area, the performance surpasses any of the DSL options.  The cable connection enters the cable modem (black box on the lower left of the first picture).  By default, the cable modem tries to act as a router for your home, handing out NAT IP addresses to devices connected.  After the cable guy left, I found the modem’s webpage to turn the cable modem into a gateway device instead.

From the cable modem, there is a single Cat-5E link to the Linksys WRT54GL router that runs DD-WRT.  This router serves a number of functions in my house.  It manages DHCP, DNS, Firewall, and QoS for the network.  It could also serve as a VPN server if I had that need.

The Linksys has a single connection to the Netgear 16-port Gigabit switch mounted on the plywood.  This switch serves as the main switch for the house.  Ethernet drops from all over the house are routed into this switch.  I have managed to run 1-2 Cat-5E cables to each of the bedrooms, office, and living room.  Though I do also use wireless, I do prefer the performance and security of wired connections.  Throughout the house, a few more Gigabit switches are used where needed, such as in the home office and behind the entertainment center.

Gigabit backbone for the entire network

Doing a simple scan of my network shows about 20 devices connected currently, either directly to this switch, through other switches, or wireless.  All movies, photos, and music are stored on my Synology Diskstation DS-211j.  My home network is fast enough to easily stream HD-level video across the network, and the only maintenance needed is to occasionally reboot the cable modem.