|
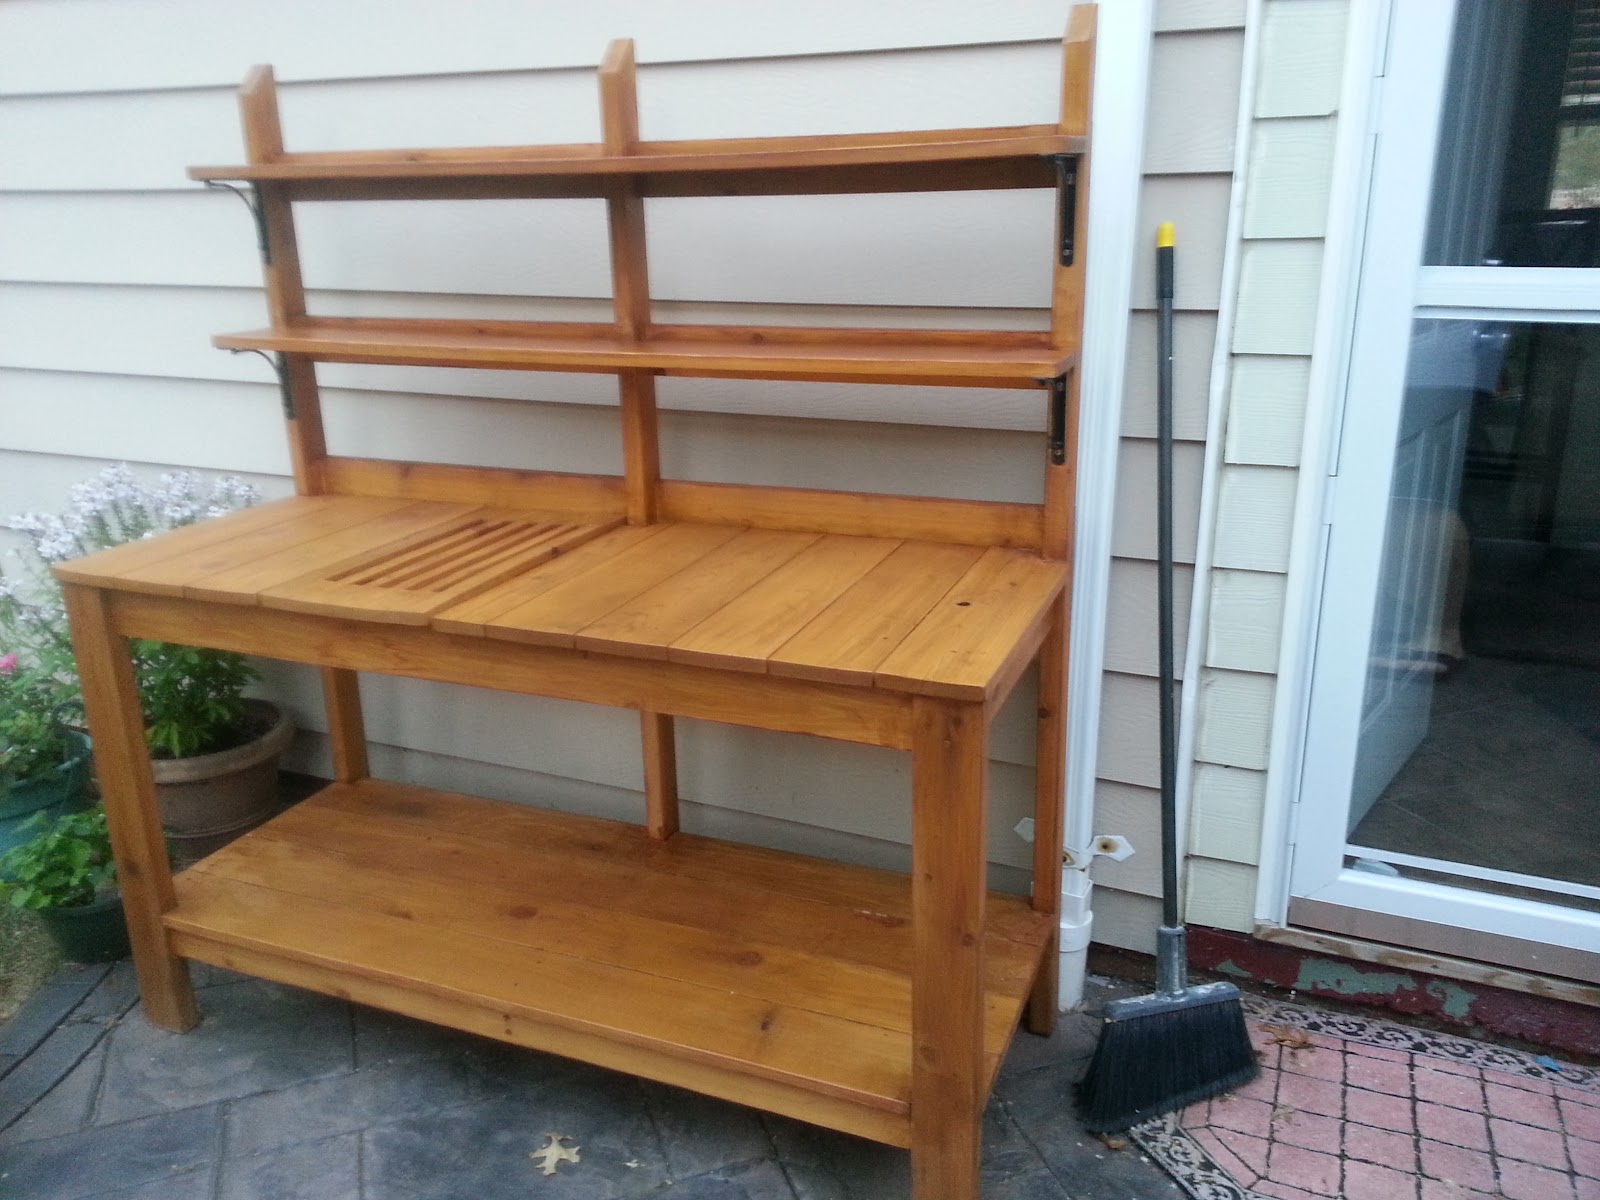
| Potting Bench after staining. |
In the past few years, I haven’t been able to do much woodworking. My tool time was limited to several DIY projects that had higher priority. This spring, I took a day off from work to build this Cedar Potting Bench.
I started with plans from The Family Handyman magazine. The plans were for a 47″ wide bench, but the area on our patio was more like 65″ inches. I decided to widen the bench to give more table top and shelf space.
With the added width, I was concerned about the structural integrity. I was able to modify the plans by adding a middle vertical support for the back of the bench to add some additional strength. Without this vertical support, I believe there could have been some sagging with the shelves.
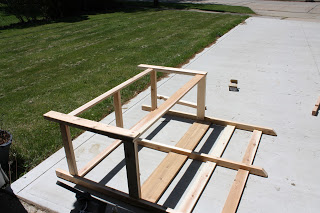
 |
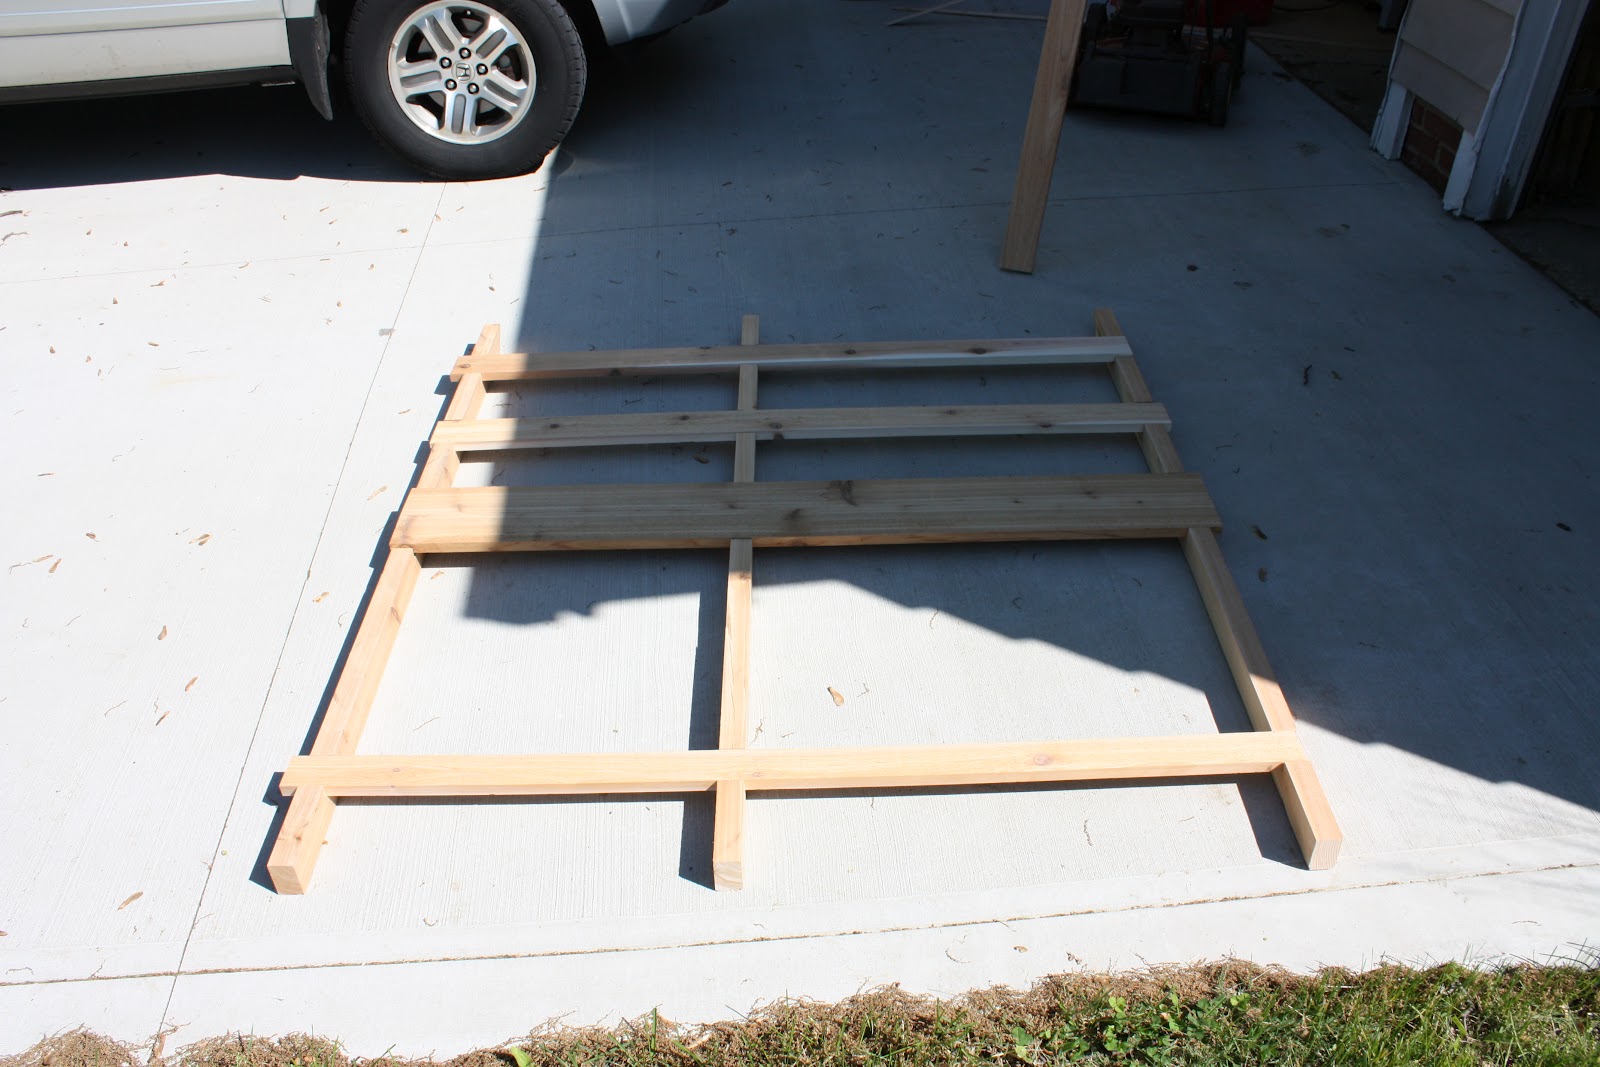
| Layout out the back of the potting bench. |
The plans called for using a plastic wastebasket to hold the dirt. Another change was to use cement board instead of exterior-grade plywood to hold the dirt container. By cutting a hole in the plywood, the container hangs from the bench by the lip of the wastebasket. I could not find exterior plywood, but I found that cement board (used in tile applications) worked just as well.
 |
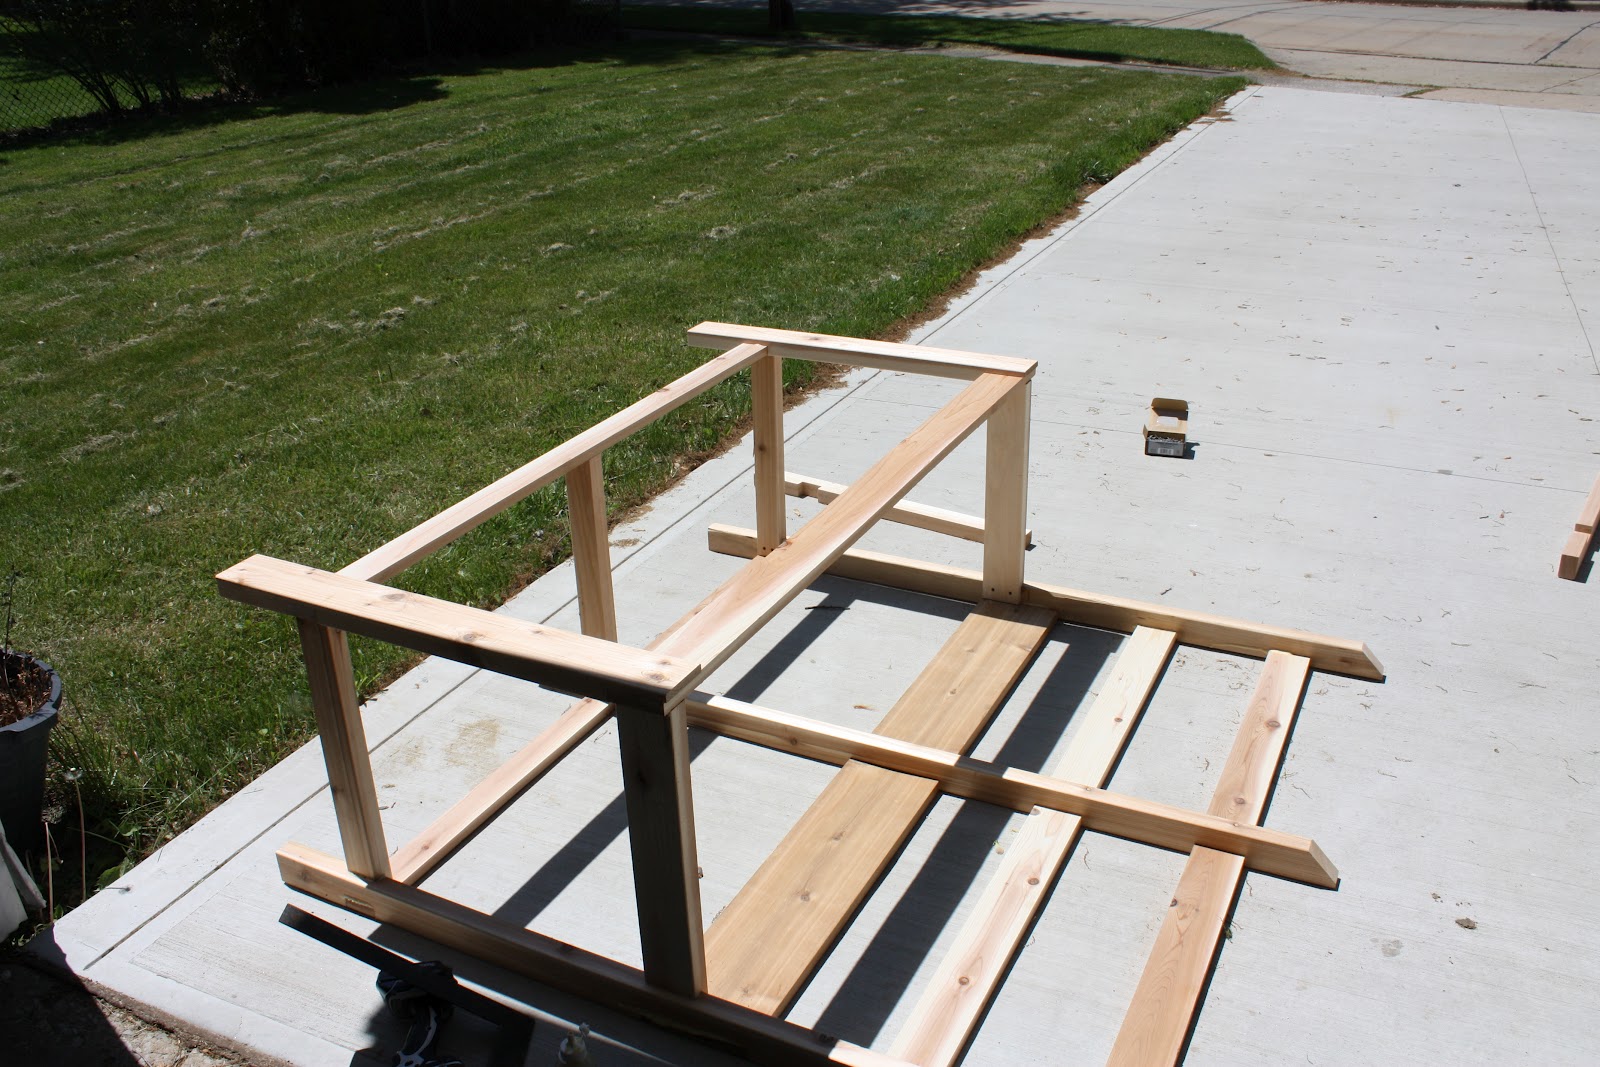
| Attaching the front assembly to the back. |
Construction was primarily Gorilla glue with exterior screws. Some pocket screws were used as well. I used Behr transparent stain/finish to protect the cedar from the elements. Shelf brackets from the local big box store were used to support the shelves.
This was a really fun project, and was a great way for me to get back into woodworking. Next project will be an Entertainment Center for our living room.
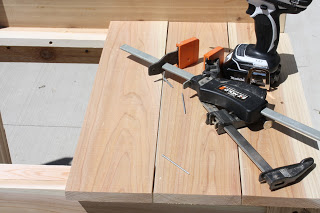 |
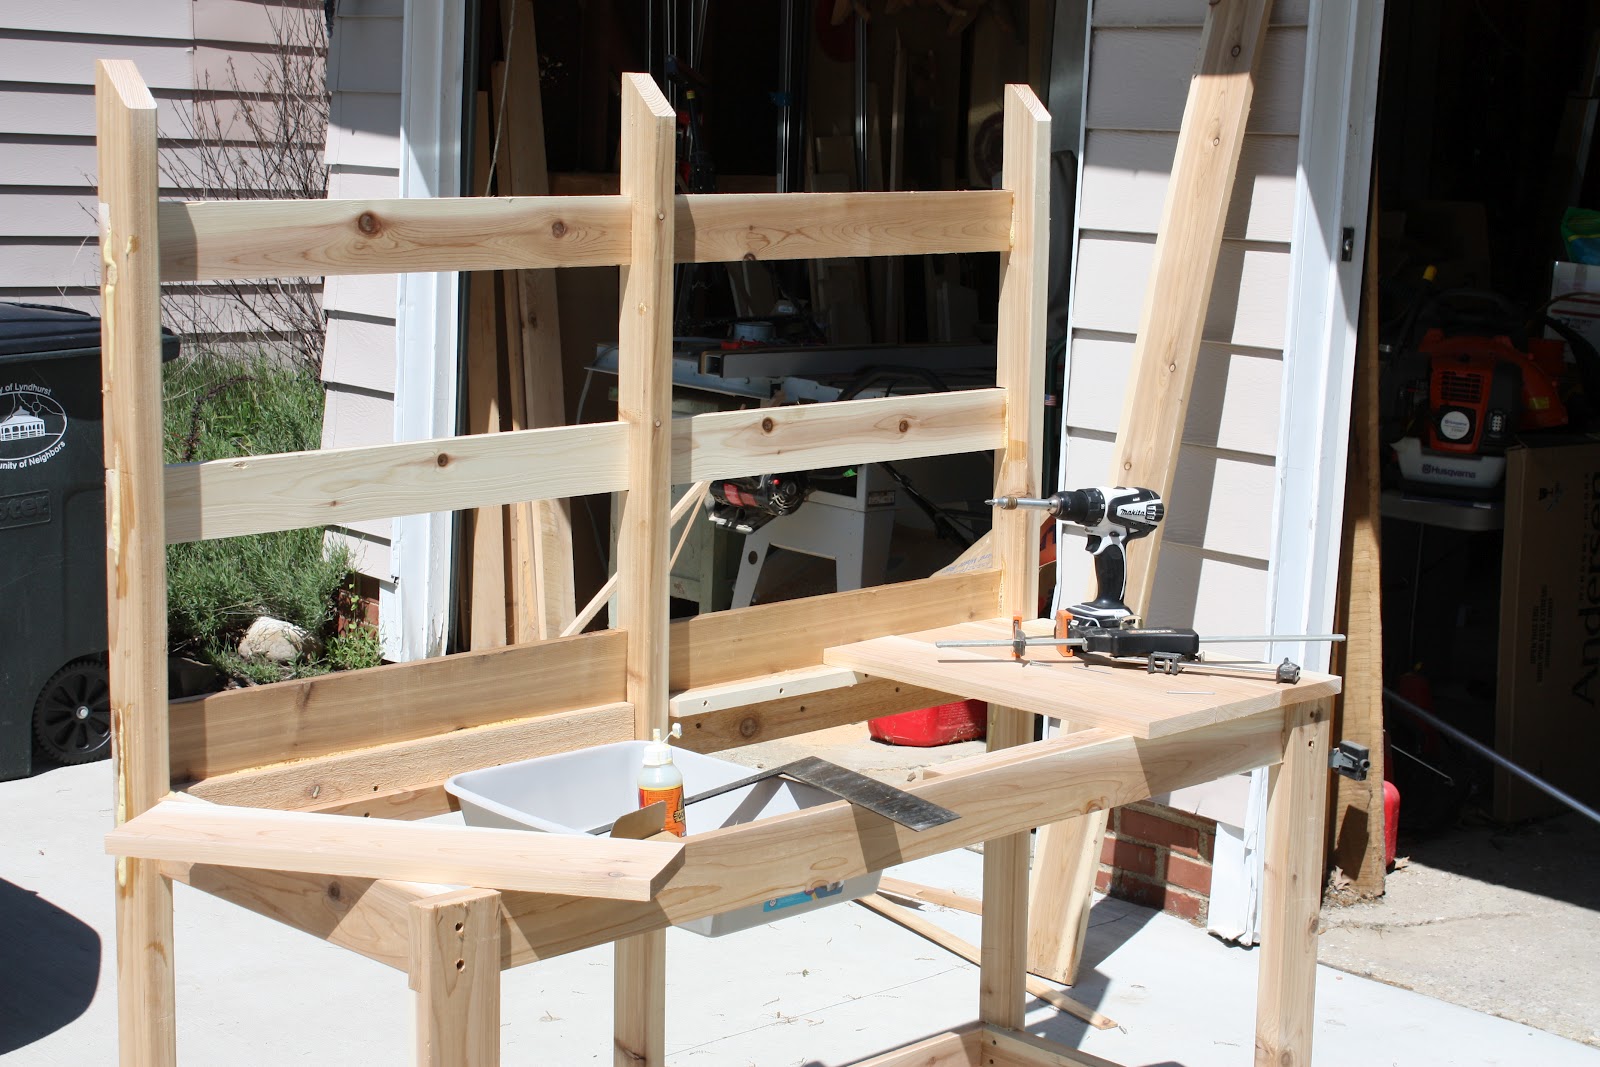
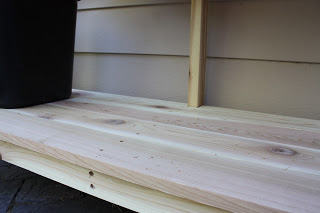
| Starting to cut and fit the boards for the bench itself. |
 |
| A litter pan provides a way to catch excess dirt when potting. |
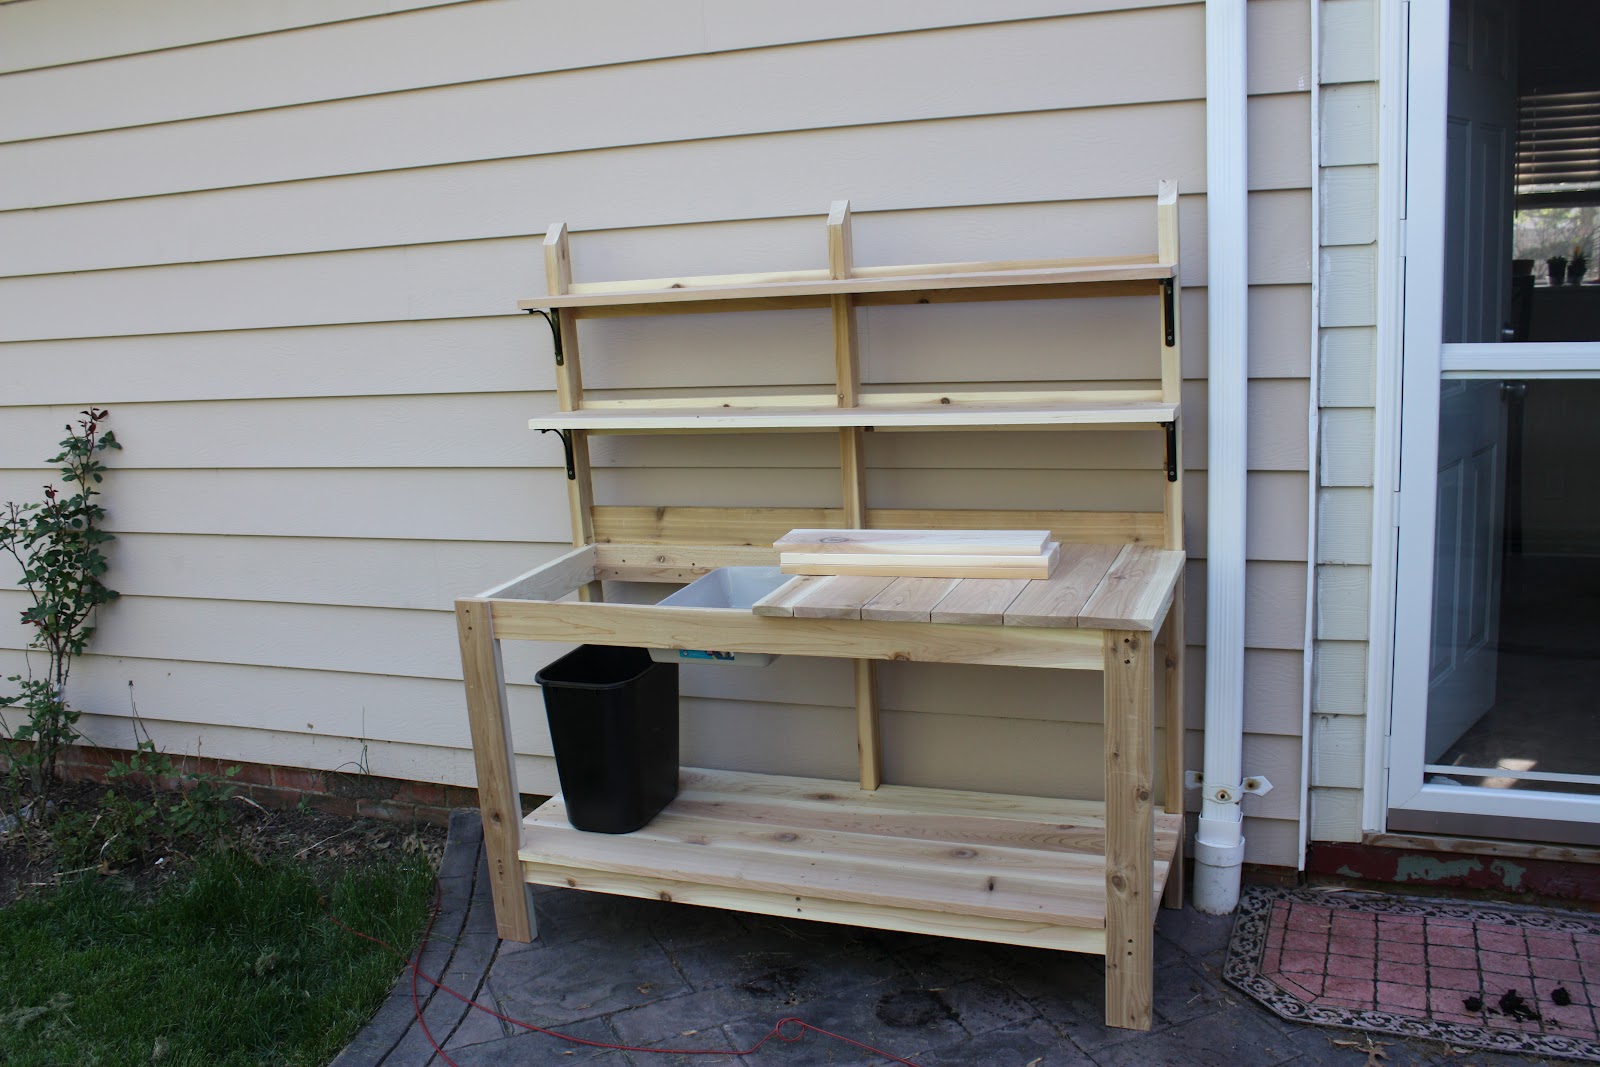
 |
| Potting bench nearly complete. |
 |
| Closeup of the bottom shelf. |
 |
| Closeup of the bench. |
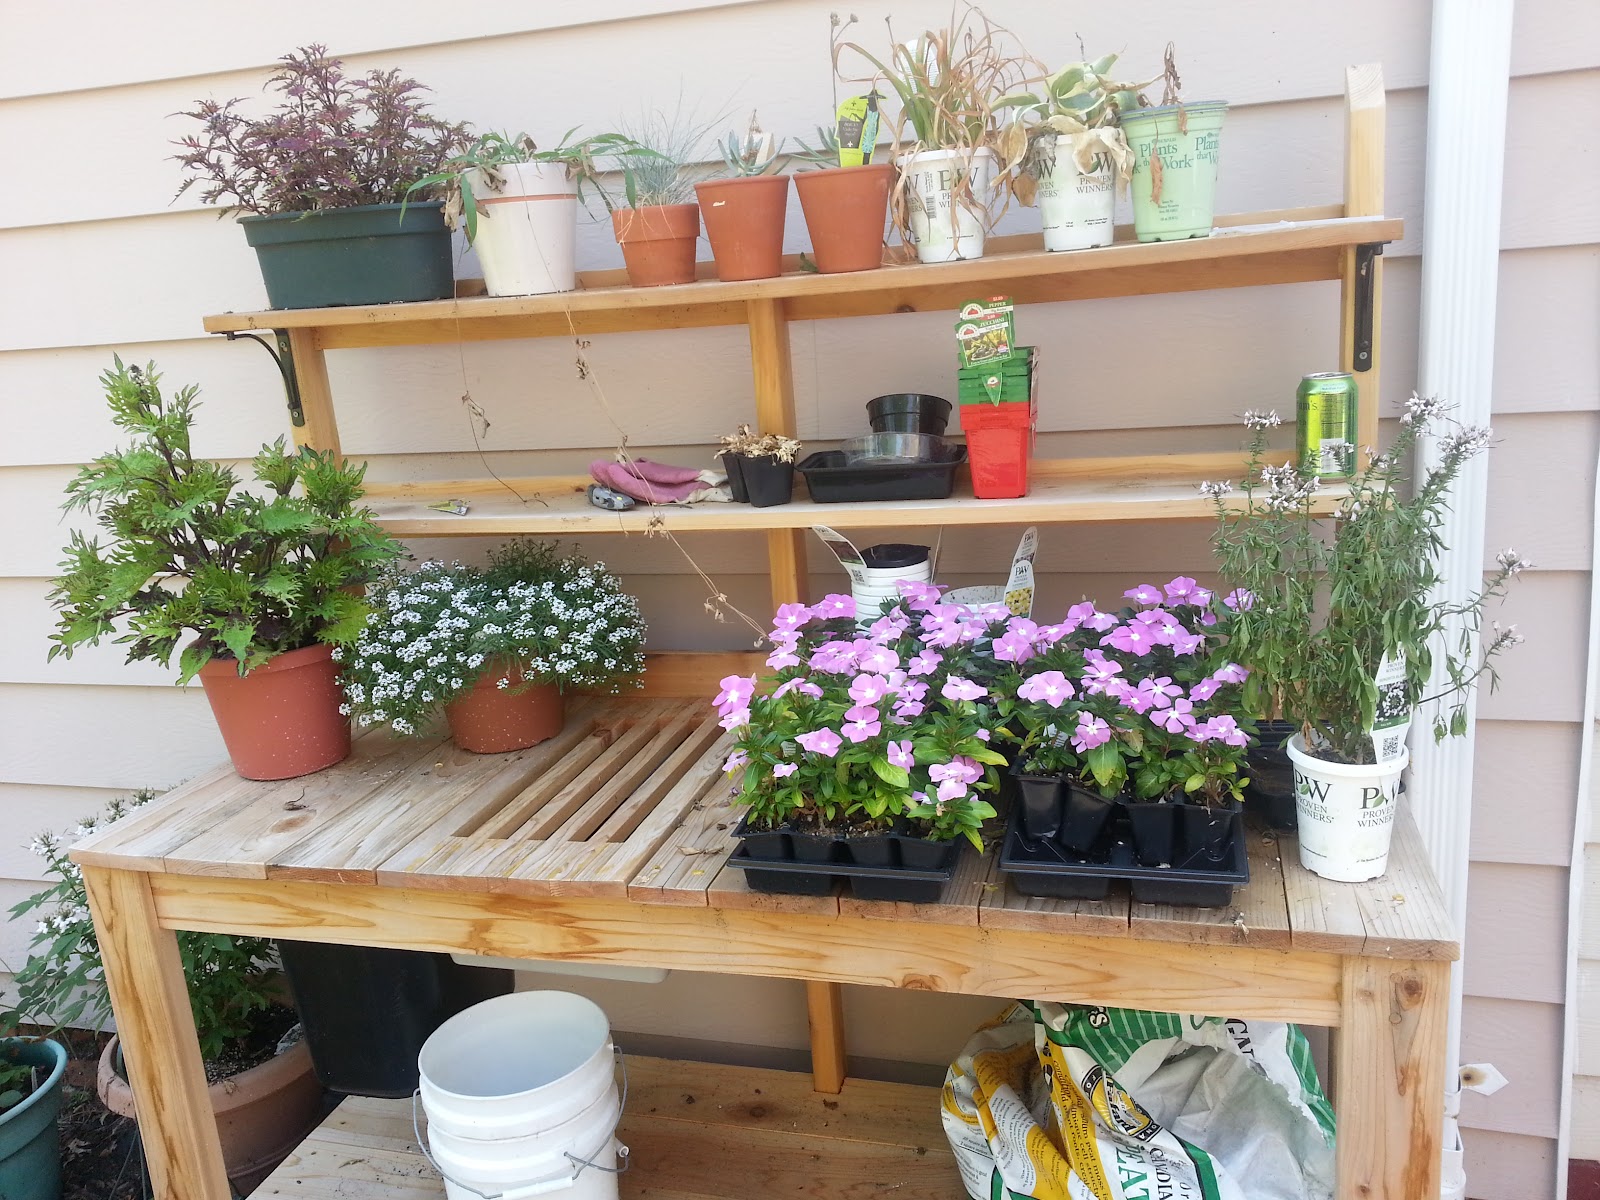
 |
| Full of plants. |