Vizio Co-Star has shipped!

I pre-ordered my Vizio Co-Star 3 weeks ago, after reading about it on some of the Android blogs.  Checking on their site a few minutes ago, and it looks like my unit has finally shipped!  I’m not usually one to pre-order a product, especially from a company new to the product space, but I thought I would take a chance on one of these.  I’ve been very happy with my Vizio TV, and their latest line of desktop and laptop PC’s looks very compelling.

I’ve had a Logitech Revue for the past year or so.  It has been a major disappointment.  The update to the latest Google TV took them much longer than other models.  The Revue is slow, laggy, and all but unusable.  Trying to play 1080p video through Plex basically causes the unit to grind to a halt.  Web browsing is slow and miserable.

I only have a few requirements for a Google TV Device:

  • Play 480p/1080p video from my NAS 
  • Browse the web
  • Neflix and Amazon Prime Video Streaming 
  • Play music streaming from the NAS, as well as Pandora
  • Display photos streaming from the NAS

Do all of those, without the lag, stuttering, freezing, and crashing that my Logitech Revue currently does, and I will be very happy.

Vizio could have a great product here.  The faster hardware, low price ($99), and their custom user interface should make this a very nice HTPC replacement.  The biggest question in my mind is how hacker-friendly the unit will be.  Will Vizio take the route of other manufacturers, such as Motorola and Logitech who love to lock down their Android devices with encrypted bootloaders?  Or, will they take more of a Nexus Q approach and embrace the hacker/ROM community instead of fighting them?  My hope is the latter.  I guess we’ll find out in a few days.

Android-er: Preview build of ADT 21 and of the SDK Tools, r21 released

Looks like the preview build of ADT21 is out there.

Android-er: Preview build of ADT 21 and of the SDK Tools, r21 …: Preview 1 is mostly a bugfix release. It contains a number of bug fixes in various areas that were new in ADT 20, such as the new templa…

ADT20 was a nice jump in terms of functionality.  Since I work on both Android and iOS, while I enjoy the Eclipse environment more, there are some things that XCode does a better job at.  UI development and templates come to mind the most.  I’d love to see a Storyboard-esque feature in ADT, which would greatly improve the creation of UI’s.

The project templates are great to help get going faster, especially as the project structures get more complicated with things like Fragments.  Having previously built a fragment UI by hand, having the IDE create the initial template would have made it much easier.  I’m also hopeful that project templates will help encourage developers to follow more of the Android standards.

Cedar Potting Bench

Potting Bench after staining.

 In the past few years, I haven’t been able to do much woodworking.  My tool time was limited to several DIY projects that had higher priority.  This spring, I took a day off from work to build this Cedar Potting Bench.

I started with plans from The Family Handyman magazine.  The plans were for a 47″ wide bench, but the area on our patio was more like 65″ inches.  I decided to widen the bench to give more table top and shelf space.

With the added width, I was concerned about the structural integrity.  I was able to modify the plans by adding a middle vertical support for the back of the bench to add some additional strength.  Without this vertical support, I believe there could have been some sagging with the shelves.

Layout out the back of the potting bench.

The plans called for using a plastic wastebasket to hold the dirt.  Another change was to use cement board instead of exterior-grade plywood to hold the dirt container.  By cutting a hole in the plywood, the container hangs from the bench by the lip of the wastebasket.  I could not find exterior plywood, but I found that cement board (used in tile applications) worked just as well.

Attaching the front assembly to the back.

Construction was primarily Gorilla glue with exterior screws.  Some pocket screws were used as well.  I used Behr transparent stain/finish to protect the cedar from the elements.  Shelf brackets from the local big box store were used to support the shelves.

This was a really fun project, and was a great way for me to get back into woodworking.  Next project will be an Entertainment Center for our living room.

Starting to cut and fit the boards for the bench itself.

A litter pan provides a way to catch excess dirt when potting.

Potting bench nearly complete.

Closeup of the bottom shelf.

Closeup of the bench.

Full of plants.

Home networking setup

Home network root

A friend of mine is starting the process of building a house, and we got to talking about all the high-tech goodness that he could add into their home.  Over the years, I have managed to build a decent home network setup in our house, and so I thought I’d share some details.

I started this project by mounting a 2′ x 2′ piece of plywood on an interior wall, right where the cable connection enters the house.  A mounted power strip makes it easy to add components and power cycle when needed.  A nice upgrade here would be to mount a UPS on this board instead of a power strip.

The best internet source for our house is through cable.  As much as I despise the cable company, at least in our area, the performance surpasses any of the DSL options.  The cable connection enters the cable modem (black box on the lower left of the first picture).  By default, the cable modem tries to act as a router for your home, handing out NAT IP addresses to devices connected.  After the cable guy left, I found the modem’s webpage to turn the cable modem into a gateway device instead.

From the cable modem, there is a single Cat-5E link to the Linksys WRT54GL router that runs DD-WRT.  This router serves a number of functions in my house.  It manages DHCP, DNS, Firewall, and QoS for the network.  It could also serve as a VPN server if I had that need.

The Linksys has a single connection to the Netgear 16-port Gigabit switch mounted on the plywood.  This switch serves as the main switch for the house.  Ethernet drops from all over the house are routed into this switch.  I have managed to run 1-2 Cat-5E cables to each of the bedrooms, office, and living room.  Though I do also use wireless, I do prefer the performance and security of wired connections.  Throughout the house, a few more Gigabit switches are used where needed, such as in the home office and behind the entertainment center.

Gigabit backbone for the entire network

Doing a simple scan of my network shows about 20 devices connected currently, either directly to this switch, through other switches, or wireless.  All movies, photos, and music are stored on my Synology Diskstation DS-211j.  My home network is fast enough to easily stream HD-level video across the network, and the only maintenance needed is to occasionally reboot the cable modem.

Asus Transformer Prime power adapter doesn’t like the heatwave

This heatwave (here in the US) sucks.  Not only do we (humans) hate it, but apparently some of our electronics don’t like it either, and occasionally need to go back to the cold.

I’ve been trying to figure out why my Asus Transformer Prime charger was no longer working.  I have a charger at work, and the tablet charges fine there, so I know that it’s not a problem with the tablet.  I first checked the USB cable for any kind of damage.  I didn’t find any, and in fact the cable has been working great as a debug cable for ADB to my Prime.  I then thought there was something wrong with the power outlet on the power strip.  Plugging in other things showed me that it was working completely fine.  

I continued on, investigating and experimenting, all in the hopes of getting my tablet to start charging.  At some point, I gave up and started browsing Amazon for a replacement.  While reading the reviews for this one, someone had posted a note in their review about needing to place the charger in the freezer to reset some kind of temperature sensor.  Being that my upstairs office is currently in the 90’s without the window unit AC, and that the power adapter heats up under use, I guessed that I was probably susceptible to this issue as well.  The ambient temperature in my office was not dropping down low enough to reset the sensor.

So I popped it in the freezer, and 30 minutes later, I had a working charger.  I couldn’t believe that worked.  If you’re having this problem, avoid paying $30 for a replacement, and throw yours in the freezer for a few minutes.  You may find it works just fine after a brief cool-down.

Gson and Android

Gson is a lightweight and open-source library from Google which takes care of serializing Plain Old Java Objects (POJO’s) to JSON, and JSON to POJO’s.  Since it is written in Java and has a JAR file available, I found it can also be a great choice for the Android platform as well.  The JAR file weighs in at 190KB, so it will add a little bit of bloat to your app.  However, I think the ease of use is worth the extra space that the code takes up.  With the use of ProGuard, most of the unneeded code will be removed from your APK file anyways.

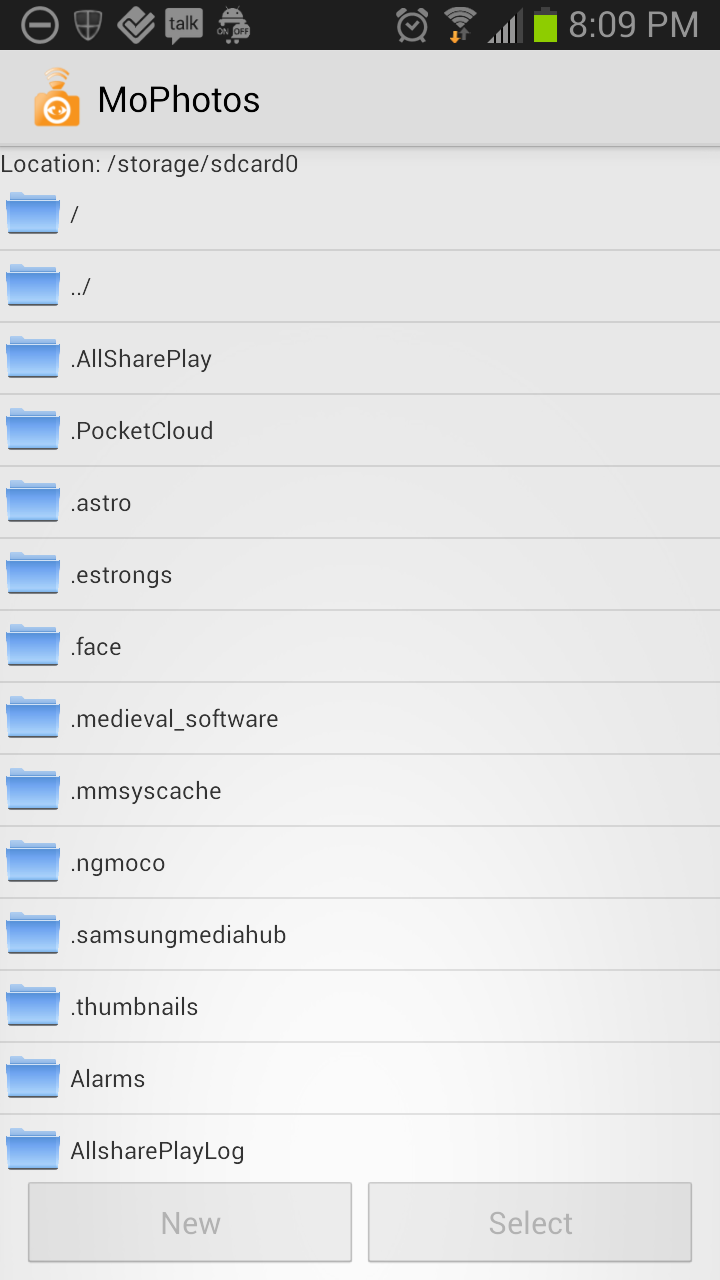
In my Android app MoPhotos, I have a need to persist some user preferences that the built-in persistence mechanisms were either too simple (preferences) or too heavy-weight (SQLite).  This particular set of preferences is a set of directories that a user has selected for my app to scan and display photos for.

To persist each directory, I first created a model class that represents the data I want to persist for each user selection:

[code lang=”java”]
public class Filesystem
{
private String uri;
private boolean enabled;
private transient List photoDirectories = null;
}
[/code]

By default, any fields in the class will be included in the serialization/deserialization results.  To add additional fields that you do not want to be persisted, use the “transient” keyword to have Gson ignore that field.

The next step was to load the JSON file when the Activity was started.  The loadFilesystemConfiguration method is called during onCreate.  With Gson, this is pretty easy:

[code lang=”java”]
private void loadFilesystemConfiguration()
{
Gson gson = new Gson(); //1
FileInputStream fis = null; 
try { 
fis = this.application.openFileInput("Filesystems"); //2
Type collectionType = new TypeToken<Collection<Filesystem>>(){}.getType(); //3 
List filesystems = gson.fromJson(new InputStreamReader(fis), collectionType); //4
if(filesystems != null) { 
this.photoFileSystems.addAll(filesystems);
}
}
catch(JsonIOException e) { …  }
catch(JsonSyntaxException e) { …  }
catch (FileNotFoundException e) { …  }
finally { 
    try { 
if(fis != null)
fis.close(); //5
}
catch (IOException e)  { …  }
}
}
[/code]

Notes for the above snippit:
//1:  Create the Gson class instance which will deserialize the JSON into our POJO’s
//2:  Open the file storing the JSON string.  By default, I am using the app’s internal file storage space to store the JSON file in a file called “Filesystems”.  The name can be anything you want.
//3:  Because I’m persisting a list of POJO’s, I needed to create this Type object to reflect the collection type needed to give Gson the proper context.
//4:  Deserialize the JSON into a List object.
//5:  Make sure you close the file in the finally block.

Serializing the list of Filesystem objects is just as simple.  In the onDestroy method, the saveFilesystemConfiguration method is called:
[code lang=”java”]
public void saveFilesystemConfiguration()
{
Gson gson = new Gson();
  String filesystemData = gson.toJson(this.photoFileSystems);  //1

FileOutputStream fos = null;
try {
fos = this.application.openFileOutput("Filesystems", Context.MODE_PRIVATE);
fos.write(filesystemData.getBytes());  //2
}
catch (FileNotFoundException e)  { …  }
catch (IOException e)  { …  }
finally {
try {
if(fos != null) fos.close();
}
catch (IOException e)  { …  }
}
}
[/code]

Notes for the above snippit:

//1:  Serialize our List array to JSON into a string.
//2:  Write the JSON string to the filesystem, using the same file name as before, located in the app’s internal storage location.

Gson turned out to be a nice way to serialize this list of objects for my app.  In fact, I ended up using this same general design in 2 other places as well.  Eventually I realized that this mechanism, coupled with a ListActivity and ArrayAdapter, could be implemented as a more general mechanism for storing lists of user preferences.  Maybe next release.

This is probably a very simple use for Gson.  I could have used a simple flat text file and read the directories line-by-line.  However, Gson does make the code a bit easier, and I learned a new skill in the process that might prove helpful for a more complex future scenario.  Gson does add a little bit of weight to your APK, so you’ll have to weigh the cost/benefits against that.

Open File Dialog in Android

Android Open File BrowserThe Android SDK does not have a file browser dialog for use by app developers.  For my app MoPhotos, I needed to allow the user to select a file from their Android system that my app can use. I was surprised to learn there is no real built-in file chooser dialog. From my experience with .NET and the Win32 API, that’s a function that you can count on being there. I did not think it would be difficult to write one myself, but I’m always looking for quicker ways to get there.

Eventually, I found a blog post by Android-er, who shows a very simple version of the mechanics behind a file open dialog. After getting my version of his code up and running, I wanted to make a few modifications to meet my needs. These modifications are:

  • Alphabetize the list of files
  • Exclude hidden files, hidden directories, and directories without read access
  • Only show files with compatible file extensions

Fortunately, this was very easy to do using standard Java API’s. Instead of calling:

[code lang=”java”]
File[] files = f.listFiles();
[/code]

I create a FileFilter to filter out the results:

[code lang=”java”]
File[] files = f.listFiles(new FileFilter() {
@Override
public boolean accept(File pathname)
{
//If a file or directory is hidden, or unreadable, don’t show it in the list.</div>
if(pathname.isHidden())
return false;

if(!pathname.canRead())
return false;

//Show all directories in the list.
if(pathname.isDirectory())
return true;

//Check if there is a supported file type that we can read.
String fileName = pathname.getName();
String fileExtension;
int mid= fileName.lastIndexOf(".");
fileExtension = fileName.substring(mid+1,fileName.length());
for(String s : supportedFileExtensions) {
if(s.contentEquals(fileExtension))
return true;
}

return false;
}
});

[/code]

The last change was to sort the files and directories alphabetically. I do the sorting operations after the list is constructed, but before the ArrayAdapter is initialized.

[code lang=”java”]
//Sort the files alphabetically.
Collections.sort(fileStringList);
Collections.sort(pathStringList);

fileListAdapter = new ArrayAdapter(this.getContext(), R.layout.open_file_entry, R.id.fileName, fileStringList);
ListView lv = (ListView) this.findViewById(R.id.pcap_files_list);
if(lv != null)
{
lv.setAdapter(fileListAdapter);
}
[/code]

So far, this code is working as intended. I don’t know if this is the most-optimal to do this, but that will be analyzed before I release this app to the market. For now, I’m still building out the basic infrastructure.

I/O Read Performance on Android 2.2

I’ve been experimenting with an app prototype that I hope to release on the Android market soon. The app reads sizable files (few hundred KB to a several MB) containing thousands of records. The app is a viewer for those records.

When the app initializes, it makes a pass through the file to index it which will eventually provide the UI layer with the ability to paginate through the file. When indexing, I find the boundaries of each record, and built up a data structure containing the offsets. This part of the read must be very fast, and uses a sequential reading pattern to read the entire file.

I started to notice some performance problems with this approach, so I decided to investigate performance of 3 common I/O methods. I don’t consider this a perfectly optimized benchmark, but it is an apples-to-apples comparison with the code I wrote. I’m posting these performance results in case other Android developers are trying to figure out which I/O method to use. Being new to Java in general, I wasn’t sure what was the best approach.

The first method of reading bytes from this file was done through a DataInputStream. It was initialized like this:

fin = new FileInputStream(new File(this.fileName));
din = new DataInputStream(new BufferedInputStream(fin));

Data was read using methods such as readInt(), readShort(), etc.
The second method was to use a RandomAccessFile stream. This type of stream was new to me, and was of interest because of the ability to access a file in random places. Although the first type of parse operation does not require random access, the second type of operation will benefit from this. The stream was initialized like this:

rin = new RandomAccessFile(this.fileName, “r”);

The third type of method was coupling a RandomAccessFile stream with a MappedByteBuffer. From reading the Android SDK, it appeared that there might be some advantages to this approach. The file is just mapped into a section of memory in the JVM, and other processes are able to access (and even write to) the file. It was initialized like this:
rin = new RandomAccessFile(this.fileName, “r”);
MappedByteBuffer buffer = rin.getChannel().map(FileChannel.MapMode.READ_ONLY, 0, rin.length());
After implementing all 3 versions of these streams, in such a way that they can be switched around very easy, I ran performance tests on files ranging from 500 to 10000 records. I took 5 runs through the test collateral, and averaged the results.

Environment

  • HTC EVO
  • Android 2.2 (Froyo)

Performance

Conclusions

The DataInputStream method of reading sequentially from a binary file was roughly twice as fast as the RandomAccessFile and MappedByteBuffer methods. I think for my initial indexing of the file, the DataInputStream method will work the best. When I implement the random access capability for pagination, I’ll need to revisit this with further benchmarks that expose that behavior.

Hello, Android

After the news of the Nexus One broke, I started reading all I could. I think that Google is really planning to shake up the entire wireless business with this phone, and change the way that consumers are locked into contracts. I currently have a Nokia E71, but I plan to ditch it when the Nexus One becomes available.

My E71 has been a good phone, but it has a lot of shortcomings:

– Nokia’s firmware updates are only released for European models. Sure, I could force the update and void my warranty, but I’ve held off doing that.
– Web browsing on the small screen pales in comparison to surfing on my wife’s iPhone. I’m no Apple fan, but if the Google browser is half as good, it will be a much better browsing experience than my Nokia.
– I’m a big fan that once you buy a piece of hardware, you have the right to develop content for it. With the iPhone, I’d have to buy a Mac, plus buy the iPhone SDK, plus certificates and fees. Not gonna happen. With Nokia, there’s this signing process that apps have to go through and from what I’ve read, is not easy for the average hobbiest to do. Android has a much lower bar for development.

I really think that Android is positioning itself to be the best mobile platform in the future. They seem to have the most-free (free as in freedom) development strategy. You can write and test your code on Windows, OSX, and Linux. It’s only $25 to register as an Android developer which allows you to publish your apps. There’s no app-czar that needs to approve your app. In-time, the app ecosystem around Android will surpass the other platforms. And since phones today are all about the apps, it will push Android into the #1 position someday.

I recently purchased Hello, Android a few weeks ago, and ended up reading it in a few hours. Very well-written book, as it walks through the development of a Sudoku application. It has already inspired me to start playing around with the API’s and try to create an app based on an idea my wife had. I’m amazed at how after a few hours, I was able to make a lot of progress. Of course, it helps that I have years of experience with embedded development, and a few months of Java experience.